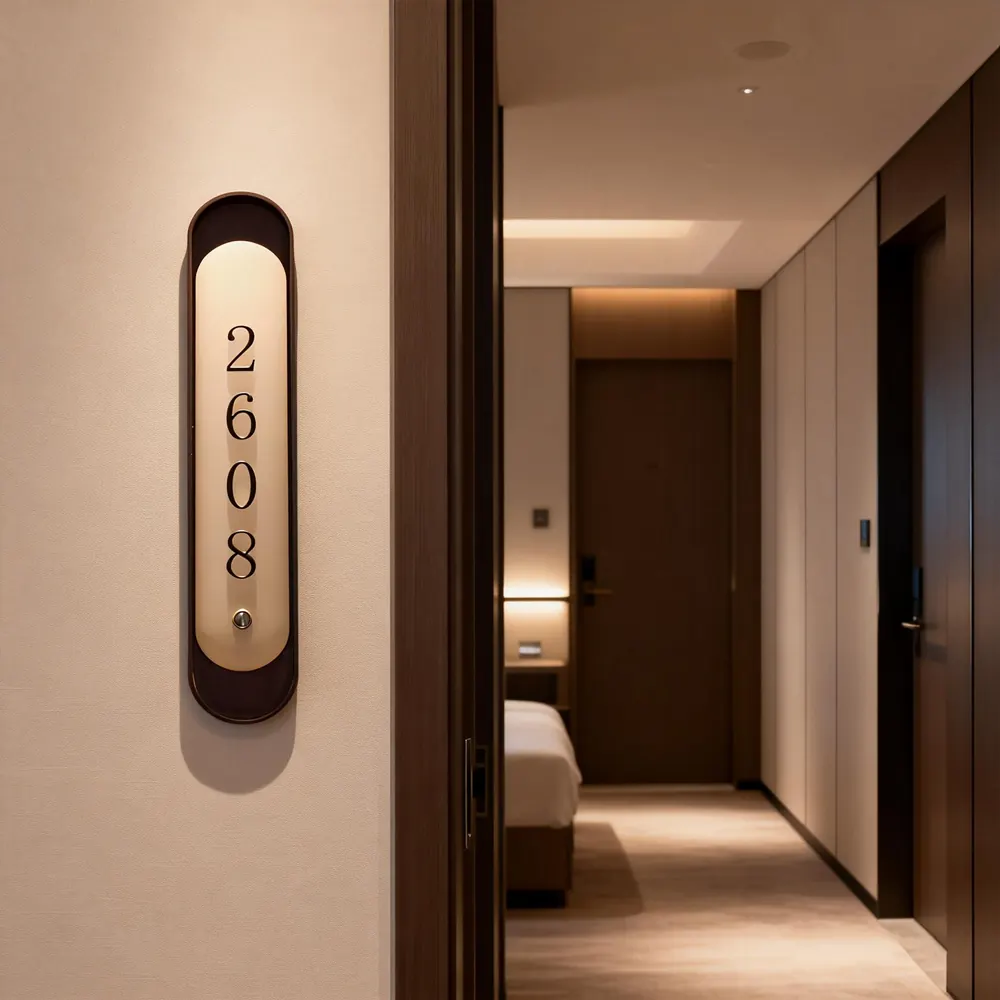
Boutique Hotel Room Sign Design & Specification Checklist
Written by: AeroSignage GlobalReviewed by: AeroSignage Editorial TeamPublished:Updated:
This design and specification checklist helps a boutique hotel turn its brand language, interiors, door conditions, and room list into one coherent sign system. It covers visual direction, room and public-area hierarchy, material and finish palettes, dimensions, readability, mounting, room schedules, representative samples, and the final design handoff.
Boutique hotel room-number projects should connect room schedules, door context, finish targets, samples, and replacement logic before production.
1. Translate the hotel brand and corridor context into a sign brief
Begin with the atmosphere the property must communicate: quiet residential, crafted heritage, coastal, industrial, gallery-like, or another clearly defined direction. Record the brand typefaces, numeral style, color references, recurring shapes, and the level of visual contrast. These choices give the room signs a role inside the hotel identity instead of treating them as isolated door labels.
Document the setting at the same time. Corridor wall color, door species and stain, trim, handles, lighting temperature, shadow lines, viewing approach, and nearby artwork all affect how a sign reads. A short context board with elevations and straight-on photographs is more useful than a collection of unrelated inspiration images.
2. Define the room-number hierarchy and the wider sign family
Map the complete numbering logic before drawing individual signs. Distinguish standard rooms, suites, connecting rooms, accessible rooms, floor or wing identifiers, and any named residences. Decide whether room status is communicated by size, position, a secondary line, an icon, or a controlled change in material rather than by ad hoc decoration.
Room numbers should also belong to the same visual family as lift lobbies, directional signs, restrooms, amenities, and back-of-house identifiers. Define which elements repeat across the family—typeface, corner radius, relief depth, finish, icon style—and which elements may change so guests can understand the hierarchy without losing brand continuity.
3. Build a controlled material and finish palette
Choose a base material, numeral treatment, accent, and finish range as a coordinated palette. Metal, painted aluminum, acrylic, wood, ceramic, stone-look inserts, carved relief, and layered construction each respond differently to edge detail, fingerprints, cleaning, humidity, and corridor light. Limit decorative variation to choices that serve the concept and can be specified consistently.
Describe finishes with references rather than names alone. Include an approved physical sample or swatch, gloss level, grain or brushing direction, patina range, edge treatment, and the intended contrast between background and characters. Note which natural or hand-finished variation is acceptable so the design retains character without making adjacent doors look accidental.
4. Resolve dimensions, readability, and mounting in the actual location
Set overall width and height, character height, stroke weight, spacing, relief or layer depth, and installation height against a scaled door elevation. Review the sign from the guest approach as well as straight on, under the specified corridor lighting. Contrast and legibility should be tested on the intended finish; local accessibility and life-safety requirements should be reviewed separately by the qualified project team.
Record the mounting surface and what lies behind it. Veneered doors, solid timber, glass, stone, painted walls, and acoustic panels may require different fixing details. Coordinate adhesive zones, studs, screws, back plates, standoffs, templates, clearances, door warranties, and maintenance access before the artwork is released.
5. Issue a room schedule and sample-backed specification handoff
The room schedule should give every sign a unique code, location, exact message, sign type, quantity, floor or zone, mounting surface, and accessibility note where applicable. Link each type code to a controlled drawing so a change to one room number does not create an untracked change to the sign design. Include spare and future-room logic in the same schedule.
Use a representative sample to confirm scale, finish, contrast, construction, and mounting against the real door or a faithful mock-up. The final handoff should combine the approved sample record, dimensioned elevations, editable artwork, type and icon references, finish standards, mounting details, room schedule, revision number, and named approval owner.
Specification Layer
Decision to Record
Handoff Evidence
Brand and context
Numeral style, brand cues, corridor palette, door condition, and lighting
Context board, door elevation, photographs, and color references
Sign hierarchy
Standard rooms, suites, connecting rooms, floors, amenities, and public-area relationships
Sign-type family diagram and coded message list
Material and finish
Base, accent, thickness, relief, gloss, texture, edge, and acceptable variation
Approved physical swatch or representative sample record
Size and readability
Overall size, character height, spacing, contrast, installation height, and viewing approach
Dimensioned elevation and in-context readability review
Mounting
Surface, fixing method, clearances, template, hardware, and maintenance access
Mounting detail coordinated with the door or wall assembly
Local codes, accessibility requirements, engineering details, and order-specific claims must be confirmed for the destination market before production.
FAQ
What belongs in a boutique hotel room sign design brief?
Include the brand attributes, numeral and type direction, corridor palette, door and hardware details, lighting, viewing approach, room hierarchy, reference dimensions, material direction, and any applicable accessibility requirements.
How should room, suite, and public-area signs relate?
Use a shared visual grammar such as typeface, geometry, finish, relief, or icon style, then define controlled differences in scale, layout, or secondary information to make the hierarchy understandable.
How many materials and finishes should the sign family use?
Use the smallest palette that expresses the concept and works across the required sign types. Record the base, accent, gloss, texture, edge treatment, contrast, and acceptable natural or hand-finished variation.
What should the representative sample confirm?
It should confirm the intended artwork, scale, character spacing, material, thickness, relief or layer construction, finish range, edge detail, contrast, mounting, and appearance under the project lighting.
What should be included in the final specification handoff?
Include dimensioned elevations, editable artwork, type and icon references, finish standards, mounting details, the coded room schedule, sample approval record, revision number, approval owner, and spare or future-room logic.
Hotel Room Numbers
Continue with the product pillar or the most closely related guides for sizing, materials, lighting, accessibility notes, cost, and quote preparation.